AC or DC, Wiring Is Just as Bad as I Expected

The Struggle with Automotive Wiring
For any DIY enthusiast, there are certain tasks that linger on the to-do list, often growing more daunting over time. I’ve found myself avoiding a project so long that I had to use Simple Green to clean it off the dry-erase board I used to track my progress. My reluctance to tackle these tasks is only matched by my increasing frustration with incomplete projects. Lately, this internal battle has been particularly fierce as I’ve been diving into one of the most challenging areas of automotive DIY: wiring.
The two main projects in my garage right now—the Honda XR600R dirt bike and the C4 Corvette engine swap—have both reached a point where progress depends heavily on working with the copper wires that run through each vehicle like nerves in the body. Just thinking about dealing with these wires makes my brain hurt. Why is wiring such a pain?
I approached these projects with the belief that wires and terminals were best left untouched if they were functioning. However, after completing significant work on both the 600R and the Corvette, it's clear that ignoring the harnesses isn’t an option. Nothing works as it should, and facing my fear is the only solution.
So far, it’s going okay, at best.
Let’s start with the Corvette, which seems to be the simpler of the two projects. The black 1985 sports car in my garage is waiting for a heart transplant from a newer vehicle. The 6.0-liter LQ4 V-8 from a 2003 GMC Yukon comes with a wiring harness designed for a truck with an automatic transmission. Since I’m replacing the Corvette’s Doug-Nash gearbox with a Tremec T56 and don’t need to integrate the new engine beyond a 12V connection, I had the choice of buying a pre-made engine harness or building my own from the factory harness. Naturally, I chose the latter.
At first glance, the process doesn’t seem too bad: after all, I'm just taking wires out of an existing harness. But "appear" is the key word here because I've only just started. The initial step—laying out the harness and stripping off the insulation and layers of tape—is arguably the easiest. This might explain why I haven’t made much progress despite having access to great online resources and tutorials. Wiring requires intense focus and attention to detail, something not everyone possesses. That’s part of why I wanted to take on a larger wiring project like this engine swap. Wanting to do the job and actually getting down to it are two different things, though, and I still find myself intimidated by the rainbow of plastic and copper snaking around my garage table. It feels like the worst version of automotive Candyland.
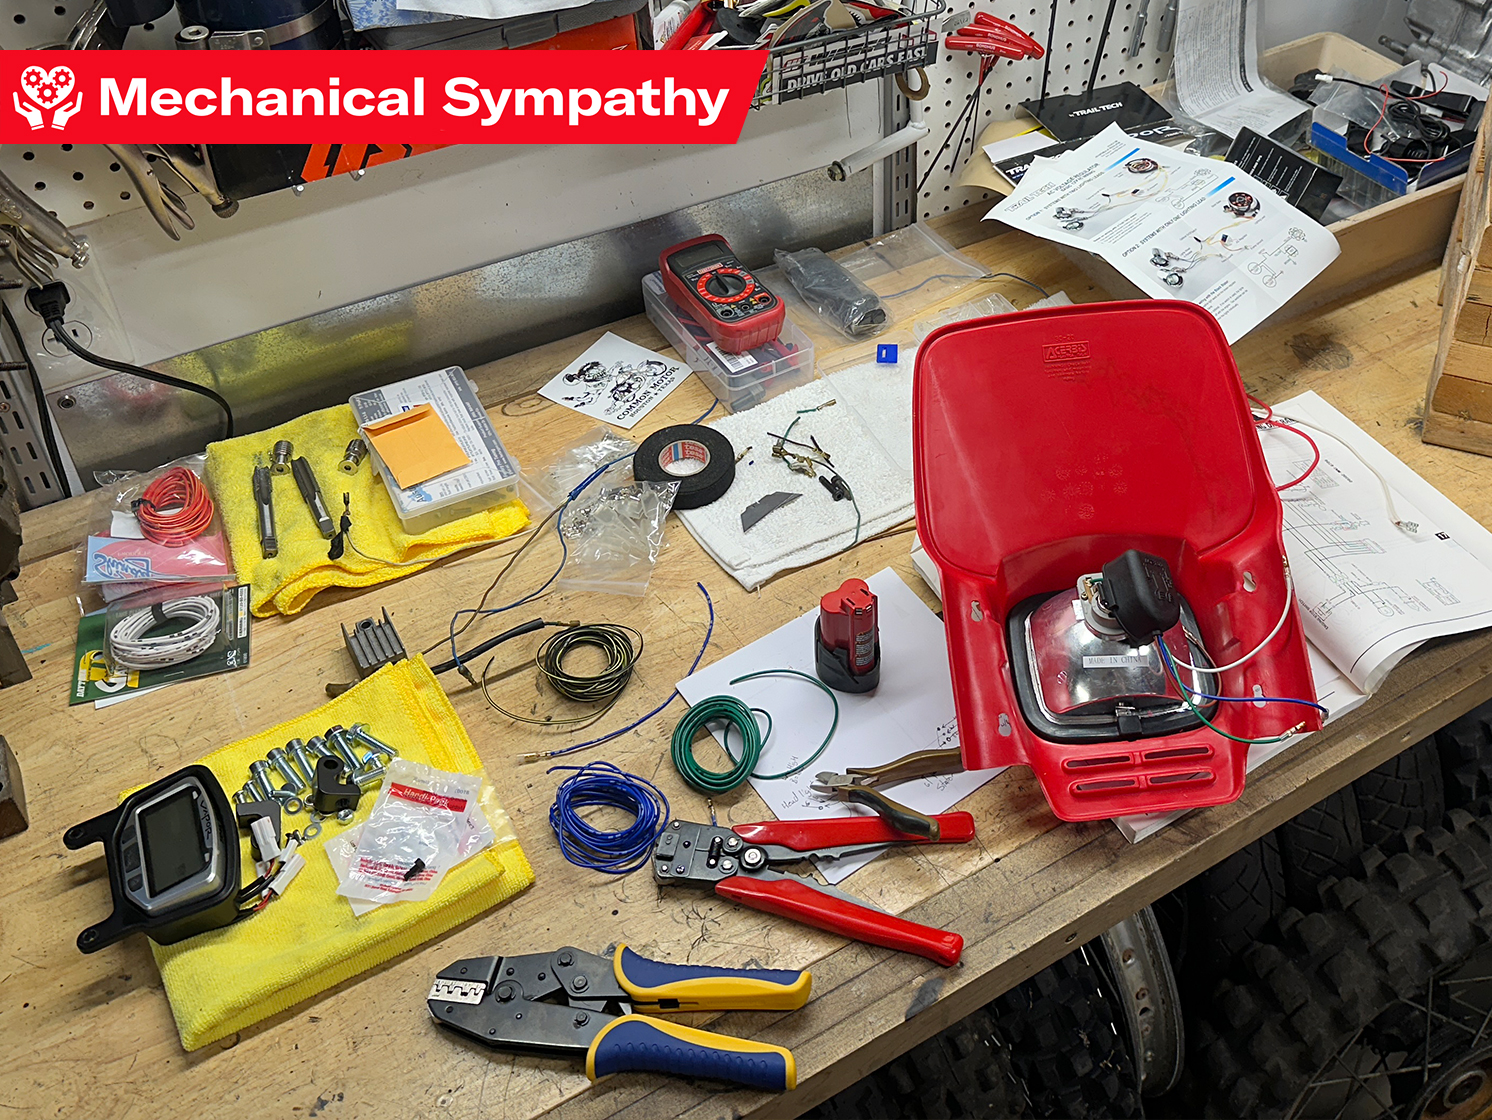
Instead of starting to de-pin and cut out unnecessary components, I decided to tackle what I thought was the simpler project: building the harness for the XR600R. This bike was a mess when I bought it, and the first thing I noticed were multiple cuts, splices, and patches of old tape on the wiring harness. From the start, I expected to rewire it. The task never seemed too intimidating because the factory service manual only lists seven wire colors. Getting the bike to run requires a simple harness, and you don’t need much more than what’s needed for the headlight, tail light, and brake light to make it street-legal under Michigan’s lenient laws.
After my last attempt at building a harness from scratch in 2019 for a Honda SL125, I learned that quality tools, wire, and connections make a big difference. This time, I opted for restoration-quality terminals and wire along with an affordable pair of ratcheting crimpers. This meant the finished product looks exactly as I expect, given the effort I put in, and it will last longer and be easier to service.
Switching between the two projects required some mental recalibration. The Honda dirt bike is as simple as it gets, especially with the generator mounted at the end of the crankshaft. The flywheel spins with copper windings inside, creating alternating current (AC). This means the flow of electrons switches periodically, unlike direct current (DC), which flows in one direction. The 600R likely uses an AC system because it’s simpler than a DC system, which needs a battery and regulator. What I didn’t realize until I worked on both systems back-to-back was that the grounds in an AC system are more complex than those on a DC system, where you can ground anything to the chassis.
Although the 600R’s harness has fewer wires than the Corvette’s, rewiring the bike wasn’t the warm-up I expected as I prepared to tackle the LS engine swap. More than anything, wiring up my freshly built Honda allowed me to reach a major milestone. The bike is very close to being finished, while the Corvette project continues to move forward in the background.
Wrapping up the 600R will give me a strong motivation to shift focus to the Corvette this fall. It’s a push I’ll definitely need, as the swap is about to begin in earnest. Once I rework the LS harness, it will be time to run the refreshed engine on a stand. That’s another exciting milestone that requires checking off a lot of tedious tasks on the whiteboard. This time, though, I’m determined to avoid the Simple Green.
Post a Comment for "AC or DC, Wiring Is Just as Bad as I Expected"
Post a Comment