
Pro Car Interior Detailing Guide
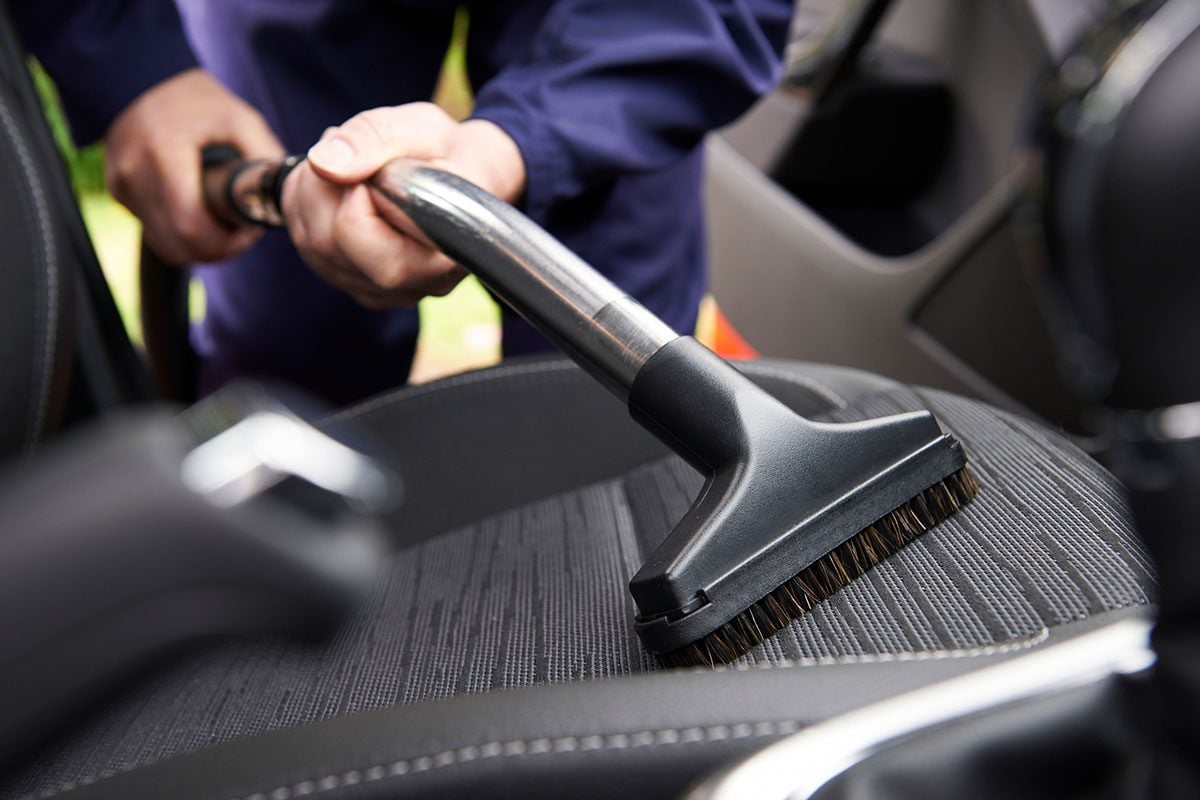
The Art of DIY Car Interior Detailing
Car interiors are prone to gathering dirt, dust, and grime. While professional interior car detailing can be expensive, many people choose to do it themselves to save money. However, the process often becomes a rewarding experience due to the satisfaction of transforming their vehicle with their own hands. According to Parham Koukia, a pro detailer, “Many people start DIY detailing just to save money, but end up loving the process because of the satisfaction of transforming their car with their own hands.” With the right tools, techniques, and a bit of patience, it can even become addictive.
Joey Sanchez, another experienced detailer, encourages home detailing. “It’s more than just cleaning, it’s about taking pride in your ride,” he says. “The moment you see those crisp lines, spotless surfaces, and smell that fresh new car scent, it’s totally worth it.”
However, there are situations where it might be best to seek professional help, such as when dealing with mold, strong odors, embedded pet hair, tough stains, or major wear. For most other cases, with a little know-how and a few smart tips, you can clean your car like a car detailing pro.
Step 1: Stock Your Cleaning Caddy
Avoid using household cleaners, as they can be harmful to automotive paint, interior, and plastic surfaces. Instead, invest in car care cleaners specifically formulated for automotive applications. David Bennett, manager of AAA repair systems, advises against using products like dishwashing soap.
In addition to car cleaning products, gather cotton swabs, fluffy make-up brushes, microfiber cloths, a scrubbing brush, and a vacuum cleaner with a brush and crevice attachments. If you prefer a complete set, John Peterson, editor of Safe Drive Gear and an auto retailer senior sales manager, recommends the 16-Piece Arsenal Builder Car Wash Kit.
Step 2: Clear Out the Car
Start by removing floor mats, large items like car seats, bags, and anything else stored in your car. Mike Pennington, director of global training at Meguiar’s, suggests clearing out trash as well. “Keep a small trash bag handy to put your trash in while on the road,” Pennington says. “Then you can easily throw away the bag and replace it with a new one as often as needed.”
Step 3: Make a Plan for Interior Car Detailing
Vehicles have nooks, crannies, and crevices. Before diving into cleaning, assess your car’s interior and note any particularly dirty areas or spaces you may not notice as you operate the vehicle. According to Pennington, commonly overlooked spots include beneath the seats, floor mats, and the back sides of sun visors. Peterson adds air vents, cup holders, and storage compartments. Bennett mentions cargo and trunk areas frequently get overlooked. Be sure to hit these spots like the pros do.
Step 4: Clean Surfaces and Vacuum
Next, vacuum the car interior and wipe down surfaces. It sounds straightforward, but for car detailing-level clean, take your time so you’re sure to hit every nook and cranny. Work from top to bottom as much as you can, but know you may need to go back over an area. Cars are tight quarters and dirt can fly around; you may need to go back to do a crevice you missed.
Here are some car detailing tips and tricks to keep in mind:
- Pre-vacuum: Use a soft, natural bristle brush to loosen dirt from all the interior surfaces prior to vacuuming.
- Don’t forget the headliner: Wrap a microfiber towel around a stiff nylon brush, then spray with an upholstery cleaner and lightly agitate the headliner.
- Move seats: When vacuuming the interior, move the front seats all the way forward and backward to get under the seat.
- Use your tools: Employ the crevice attachment for your vacuum cleaner frequently during your car detailing.
- Choose wisely: Clean with products designed specifically for the material. Then use a conditioner or protectant on any vinyl or leather surfaces, if necessary.
- Check the spare: While you’re cleaning the trunk, check your spare tire to ensure it is in good condition.
- Spray carefully: Always spray your interior cleaning solution on your towel or detailing brush to avoid streaks and damage to electronics.
Step 5: Wash the Windows
Finally, wash the windows. Specialty window wipes work well for this step. Even though you’re focused on the car interior in this step, you’ll see any exterior grime from inside your newly detailed car interior. Clean the outside of the windows, too, while you’re at it.
Step 6: Clean Floor Mats
Shake out any loose dirt from your floor mats. Vacuum and then scrub with hot water and an automotive carpet cleaner, following the manufacturer’s instructions. Let the mats dry completely.
Step 7: Reset
After you’ve finished your interior car detailing, put the fully dried car mats back in place. Then return any items you want to keep in your car back to their rightful spots, and return your seats and mirrors to their rightful positions. Now you’re ready to roll in your freshly cleaned car.
Frequently Asked Questions
How much does car detailing cost?
It depends on the condition of your car, the services you choose, and where you live, but typically interior detailing runs between $100 and $400. It can be more if you are dealing with tough stains, leather work, or deep cleaning.
Should I detail my car in hot weather?
Try to avoid it. Detailing under direct sunlight or during extreme heat causes products to dry out quickly, causing streaks, especially on glass and plastic. Experts recommend working early in the morning or inside a shaded garage if it’s a hot day.
About the Experts
Parham Koukia is lead detailer and operations manager at Panda Hub in Toronto. He has spent more than a decade mastering the art of car detailing, after turning his passion for automobiles into his profession.
Joey Sanchez is associate manager at the Chemical Guys online auto detailing supply retailer, and gives expert advice and hands-on tutorials through the brand’s popular social media channels and viral videos.

Post a Comment for "Pro Car Interior Detailing Guide"
Post a Comment